No Flash is Better
When taking photos at night your camera will automatically pop-up the flash and generate a powerful beam of light that will light up your immediate surroundings. This is great for close-up situations and for capturing those precious moments that you don’t have long to get.
However, the flash can be useless and thus spoiling your photograph when shooting from a longer distance or trying to capture a nicely lit building. The camera will shoot with a faster shutter speed when the flash is fired, this because it is relying on the flash’s light, but sometimes your camera isn’t that clever.
So the first thing to do is to get out of the auto mode and simply turn the Automatic Flash off. If you have the option of Shutter Priority than set your camera to that, otherwise just use the No-Flash mode.

No Flash
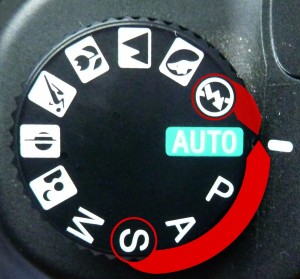
Mode Dial (Sony DSLR)
Now, you’ll have to find a very sturdy place to sit your camera, look for solid ledges, street bollards, seats, or even better use a tripod. Compose your shot with the viewer finder or live view and set a 2 second timer, to prevent any shake.
There are various ways of controlling the amount of light in your photograph, but you’ll have to judge what settings are best for your scene. For the Aperture, you’ll want a larger diameter to let in more light and lower the shutter time, however this will affect your D.O.F, making a shallower D.O.F For more information on D.O.F and Aperture click here.
Another way to controlling the light is the ISO, which determines how sensitive your sensor or Film (You’d buy a certain type of Film) is to the light. The higher the ISO number is the more sensitive your sensor is to light, therefore by having a higher ISO the shutter speed can be faster. But the problem with higher a ISOs is that you start to get higher Noise levels.
In this image we can see how much noise there is due to the high ISO:
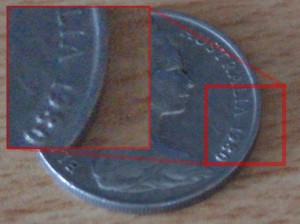
ISO 3200
In this second image we can see that there is hardly no noise, because it is set to a very low ISO:
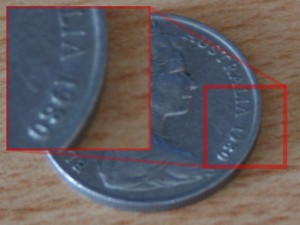
ISO 100
The shutter speed is the largest factor, and so if you have simply turned your mode dial into Shutter Priority you can easily experiment with different shutter speeds and the camera will adjust the Aperture accordingly, the same with the ISO if in auto.
This example below clearly shows the difference between firing the Flash and not!
- In this first photo, we can see the subject harshly light and nothing else.
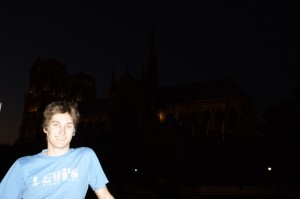
Flash used (Model: Richard Scott)
- Now, in this second image taken within a moment of each other, we see the subject with a nice warm lighting and the featured background. The flash was not fired!
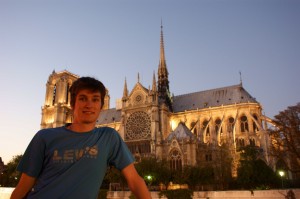
Flash not used (Model: Richard Scott)
Here are some examples of long exposures without the flash:
- This shot could have been taken with the flash and you may have seen the car (not just the yellow lights), but the mood and realism of what I actually saw was more like this:
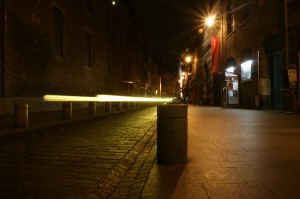
Streaming Lights AIX
- This shot here of the Brussels Town Hall is actually 2 photographs stitched together, but the exposure remained the same because I had it on AEL (Auto Exposure Lock):
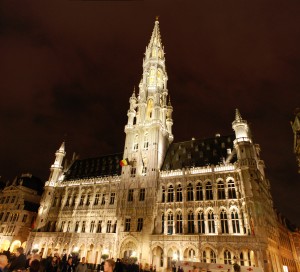
Brussels
This decision to use longer exposures without the Flash while taking Night-Scapes, will really improve the quality of your shots. By having a longer exposure your camera will take in all the ambient light and create a nice crisp and have a natural sharpening to the image, while maintaining the life like mood that you would have experienced when you were there taking those images.
However, the flash may serve well to help light up the foreground, but I recommend this for the longer exposures and with a Slow Synchronised Flash.

Slow Synchronised Flash
Please comment below if you have any questions and I’ll answer them ASAP!
All images on this site are copyrighted – All Rights Reserved.


Deprecated: Function get_users_of_blog is deprecated since version 3.1.0! Use get_users() instead. in /home/scottp12/public_html/wp-includes/functions.php on line 5453
Great article. I just got my first DSLR for Christmas. This guide is spot-on. Thank you.