Red-Eye Explained
Notice: Undefined variable: read_more in /home/scottp12/public_html/wp-content/themes/traction/archive.php on line 34
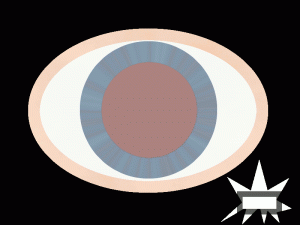
Have you ever taken a picture (with the Flash) at night or in a very dark place, well then you might know what its like to get a photo of people with red eyes, and how frustrating it can be if that’s the only photograph you have of that particular time. So, I’m going to tell you a few things about Red-Eye and hopefully help you to prevent it :)

Red Eye from Flash
Softening Effect
Notice: Undefined variable: read_more in /home/scottp12/public_html/wp-content/themes/traction/archive.php on line 34
In this very simple tutorial I’ll show you how to soften an image in GIMP. This effect is very similar to the effect you might achieve when using a Softening Filter.

Softening Effect - Rose
Using Gradients for Photos
Notice: Undefined variable: read_more in /home/scottp12/public_html/wp-content/themes/traction/archive.php on line 34
In this very simple tutorial I’ll show you how to achieve a very similar Neural Density Filter (N.D Filter) effect to your photographs by using gradients in GIMP.
This method is no substitute for the real filter that you put on your lens, but if you’d like to enhance a very flat/bland shot that you’ve already taken, then this is a good start.

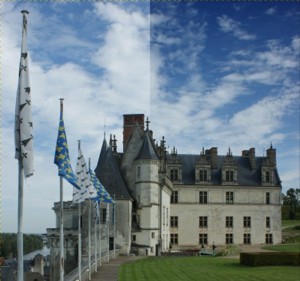
Gradient NDF
No Flash is Better
Notice: Undefined variable: read_more in /home/scottp12/public_html/wp-content/themes/traction/archive.php on line 34
When taking photos at night your camera will automatically pop-up the flash and generate a powerful beam of light that will light up your immediate surroundings. This is great for close-up situations and for capturing those precious moments that you don’t have long to get.
However, the flash can be useless and thus spoiling your photograph when shooting from a longer distance or trying to capture a nicely lit building. The camera will shoot with a faster shutter speed when the flash is fired, this because it is relying on the flash’s light, but sometimes your camera isn’t that clever.
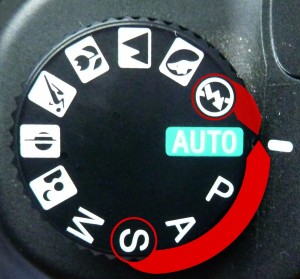
So the first thing to do is to get out of the auto mode and simply turn the Automatic Flash off. If you have the option of Shutter Priority than set your camera to that, otherwise just use the No-Flash mode.

No Flash

Mode Dial (Sony DSLR)
Depth of Field & Aperture Explained
Notice: Undefined variable: read_more in /home/scottp12/public_html/wp-content/themes/traction/archive.php on line 34
You may never have thought that the aperture or the diameter of the Iris in your camera is not only for controlling the amount of light that passes through to your sensor or film, but how you control your Depth of Field (D.O.F) in your photos.

Smaller Aperture = Larger D.O.F


