Simple solution to Hands-Free BULB exposures – Rubber Band and Eraser – DIY
Notice: Undefined variable: read_more in /home/scottp12/public_html/wp-content/themes/traction/archive.php on line 34
The majority of DSLR Cameras only have long hands-Free shutter speeds of 30 or 60 seconds, but as you know these shutter times are not always enough especially if your attempting a star trails shot. So, the solution is to buy a shutter release cable, however for such a simple task it shouldn’t require a shutter release cable costing $50 – $100, which is the going price these days! So, instead of paying ~$50 just grab a 10 cent rubber-band and an old eraser!
Using water-droplets to improve flower photos – DIY
Notice: Undefined variable: read_more in /home/scottp12/public_html/wp-content/themes/traction/archive.php on line 34
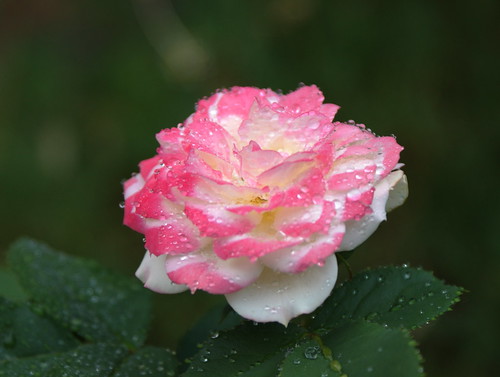
This is a really simple way to make good looking flower photographs without spending hours on Photoshop or finding the perfect flower just to make your photograph stand out from the rest. Flowers have been photographed too many times before, so we need to make it more interesting, simple by adding water-droplets!
Lens Zoom-Blur Effect – Photography
Notice: Undefined variable: read_more in /home/scottp12/public_html/wp-content/themes/traction/archive.php on line 34
Most of the time blur is really frustrating for photographers, but blurring can be used to create very interesting effects like in long exposures. The ‘Zoom-Blur Effect’ as it’s sometimes called can be used to draw the viewer’s eyes into the photograph and onto the subject with the edges blurred, our eyes tend to disregard the blurred parts and look for the sharp in-focus areas.
In this short simple tutorial I’ll show you how to achieve this effect. Unfortunately if you have a compact digital camera or do not have a manual zoom lens it won’t be possible to achieve the same effect, however I’ll show you how to replicate this effect in GIMP.
Red-Eye Explained
Notice: Undefined variable: read_more in /home/scottp12/public_html/wp-content/themes/traction/archive.php on line 34
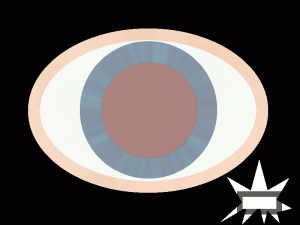
Have you ever taken a picture (with the Flash) at night or in a very dark place, well then you might know what its like to get a photo of people with red eyes, and how frustrating it can be if that’s the only photograph you have of that particular time. So, I’m going to tell you a few things about Red-Eye and hopefully help you to prevent it :)

Red Eye from Flash
No Flash is Better
Notice: Undefined variable: read_more in /home/scottp12/public_html/wp-content/themes/traction/archive.php on line 34
When taking photos at night your camera will automatically pop-up the flash and generate a powerful beam of light that will light up your immediate surroundings. This is great for close-up situations and for capturing those precious moments that you don’t have long to get.
However, the flash can be useless and thus spoiling your photograph when shooting from a longer distance or trying to capture a nicely lit building. The camera will shoot with a faster shutter speed when the flash is fired, this because it is relying on the flash’s light, but sometimes your camera isn’t that clever.
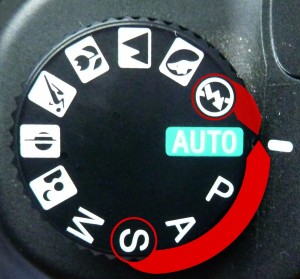
So the first thing to do is to get out of the auto mode and simply turn the Automatic Flash off. If you have the option of Shutter Priority than set your camera to that, otherwise just use the No-Flash mode.

No Flash

Mode Dial (Sony DSLR)


