Text Reflection
A simple GIMP tutorial detailing how to make elegant text reflections that look great!
Begin by opening up Gimp –> make a 1600 x 1200 with 300 DPI page and transparency.
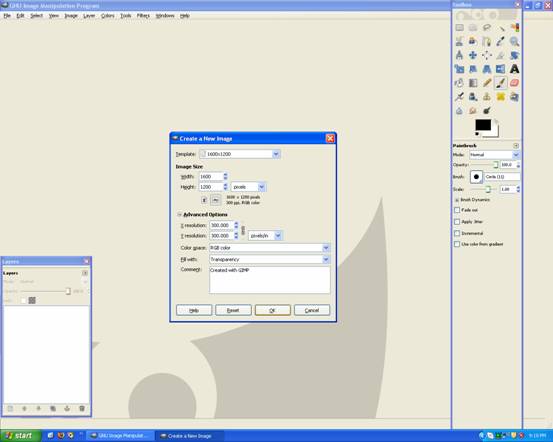
Now grab the paint bucket and fill it black:
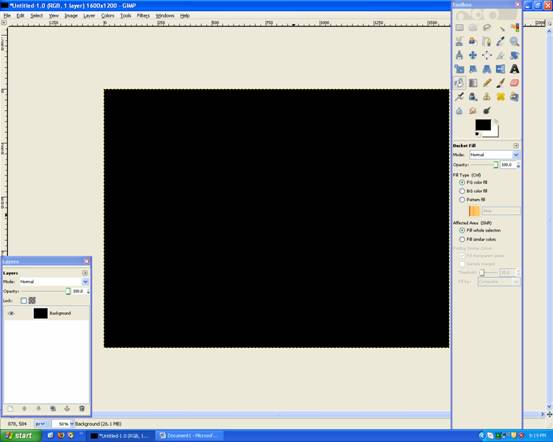
Add some text in the middle.
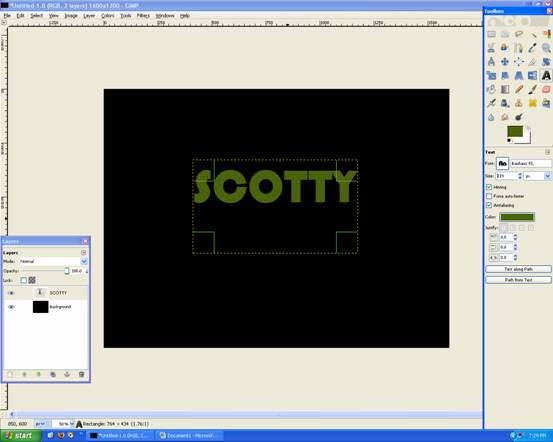
Then grab the Eclipse Tool and select the top half of the text (like below)
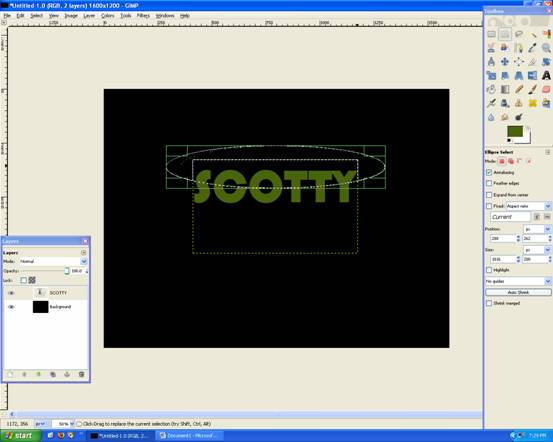
Then go to Layer –> Transparency –> Intersect with Selection
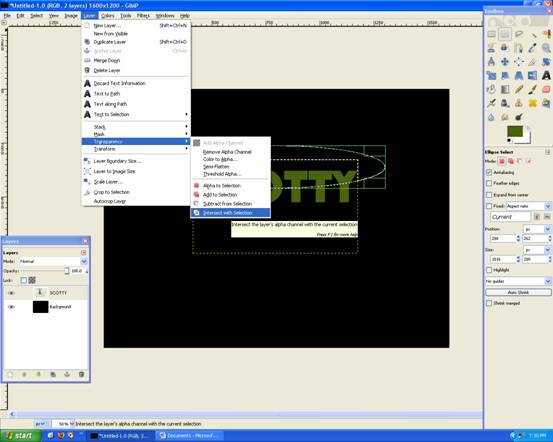
Now grab the Gradient Tool and set to FG Only:White
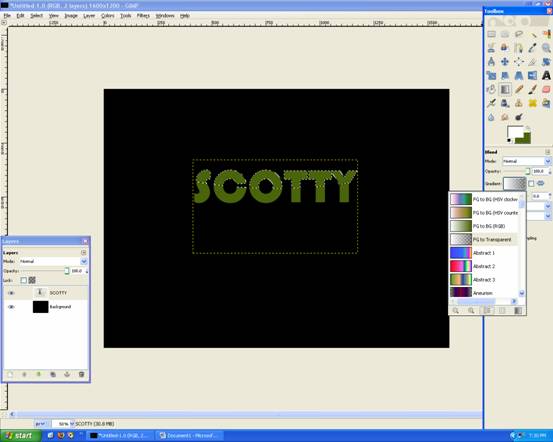
Set the Opacity to around: 25%-50%
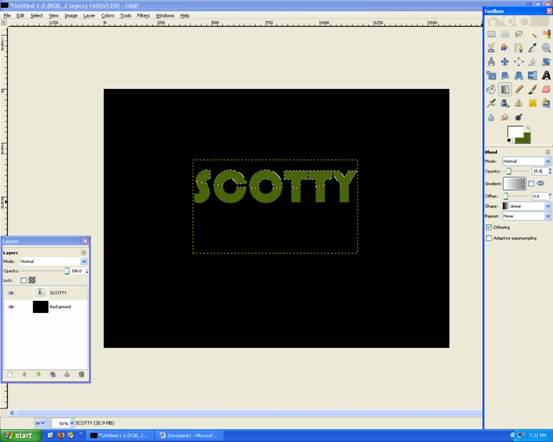
Apply the Gradient like below:
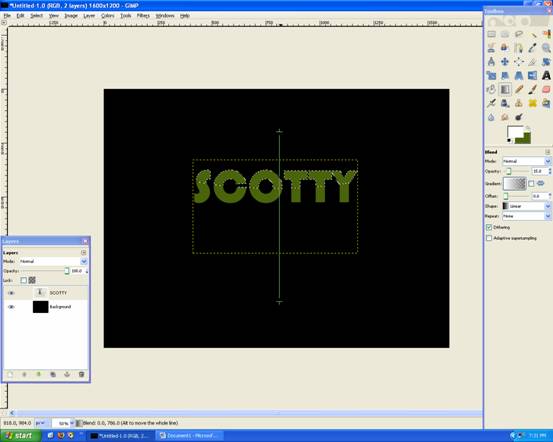
Should look like this now, with a lighter top half. This gives a sense of depth!
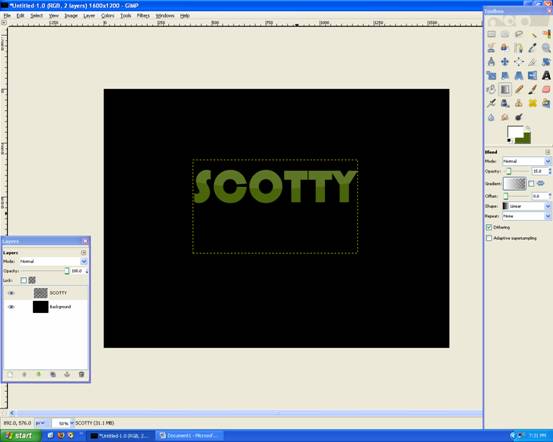
Now go Duplicate Layer (the text layer)
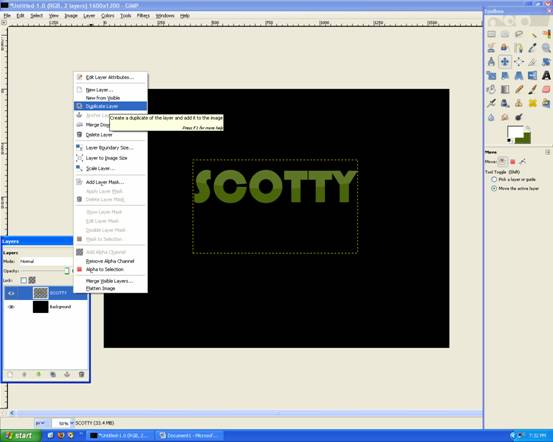
Then Rotate it 180degrees (Layer –> Transform –> Rotate 180) and Flip it the other way (Shift + F)
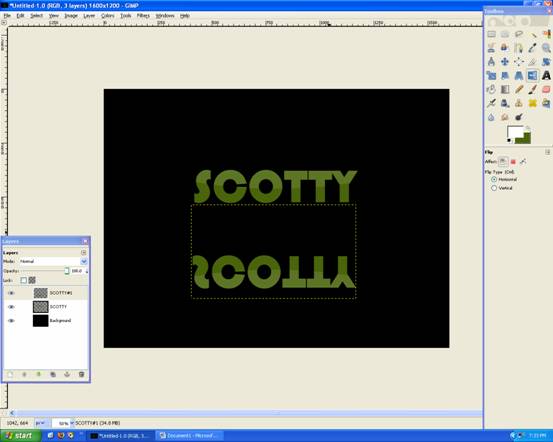
Then move it up so there is only a slight gap, like below:
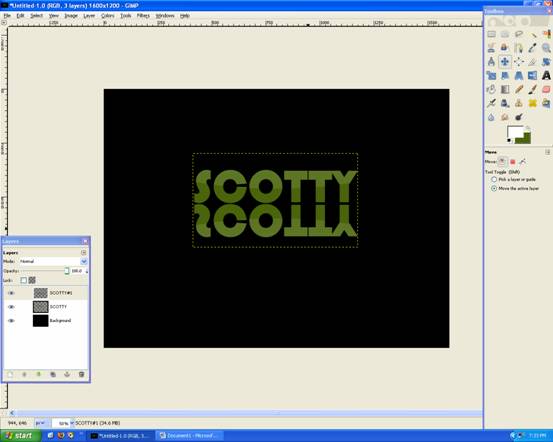
Now go Layer –> Mask –> Add Layer Mask , this will allow us to make changes to the text and nothing else!
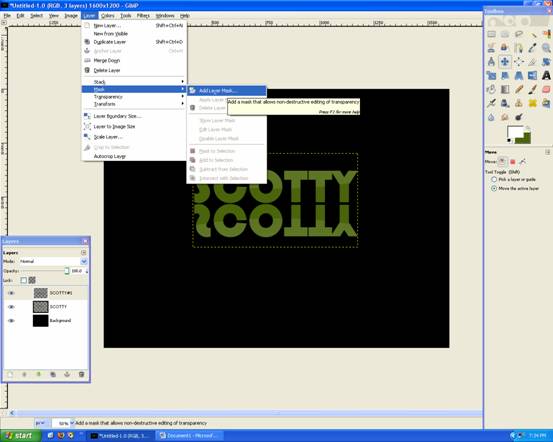
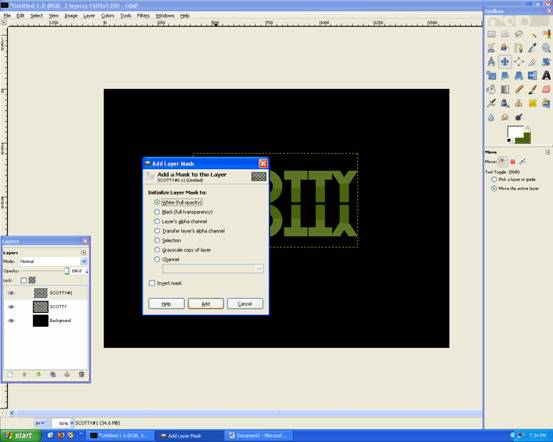
Choose WHITE (Full Opacity)
Now grab The Gradient Tool and set it to FG Only: Black , with 100% Opacity
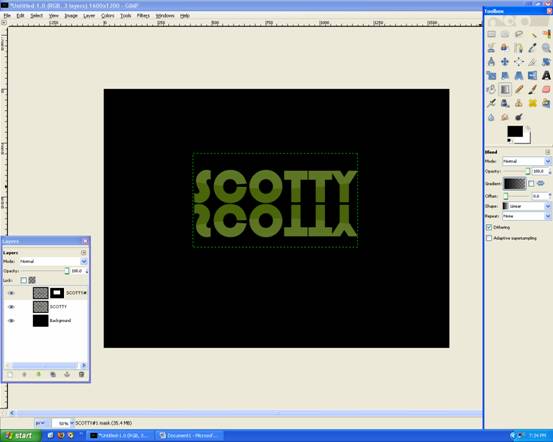
Apply Gradient Tool like below:
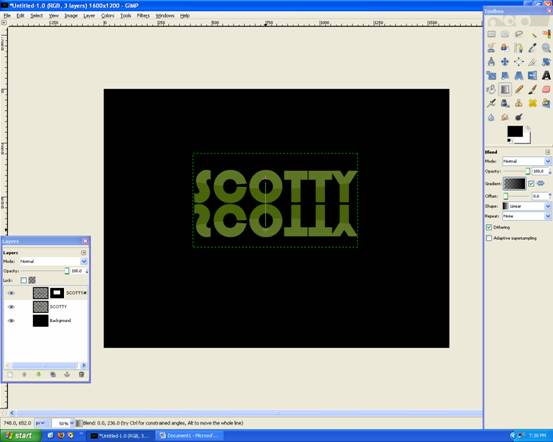
You’re done!


Deprecated: Function get_users_of_blog is deprecated since version 3.1.0! Use get_users() instead. in /home/scottp12/public_html/wp-includes/functions.php on line 6121
Thanks Brandon :) The font for “Scotty” is Bauhaus 93!
Deprecated: Function get_users_of_blog is deprecated since version 3.1.0! Use get_users() instead. in /home/scottp12/public_html/wp-includes/functions.php on line 6121
Thanks! exactly what I was looking for! What font do you use in this tutorial?