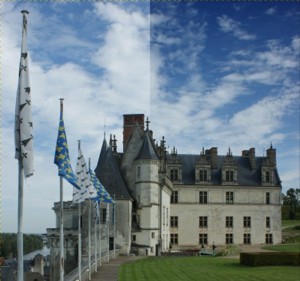
Using Gradients for Photos
In this very simple tutorial I’ll show you how to achieve a very similar Neural Density Filter (N.D Filter) effect to your photographs by using gradients in GIMP.
This method is no substitute for the real filter that you put on your lens, but if you’d like to enhance a very flat/bland shot that you’ve already taken, then this is a good start.

Gradient NDF
- Open the Image in GIMP.
- Create a New Transparent layer (call it: NDF).
- Adjust the layer NDF to Soft Light.
- Grab the Gradient Tool, with black FG Only.
- Apply Gradient like below.
- That’s it!
- You can hide the NDF layer to see the change made:
- Before and After:
Please comment below if you have any questions and I’ll answer them ASAP!
All images on this site are copyrighted – All Rights Reserved.
4 Comments
Post a comment


Deprecated: Function get_users_of_blog is deprecated since version 3.1.0! Use get_users() instead. in /home/scottp12/public_html/wp-includes/functions.php on line 5453
Great informative tutorials. Nice effort!!!
Deprecated: Function get_users_of_blog is deprecated since version 3.1.0! Use get_users() instead. in /home/scottp12/public_html/wp-includes/functions.php on line 5453
Thanks for the feedback :)
Deprecated: Function get_users_of_blog is deprecated since version 3.1.0! Use get_users() instead. in /home/scottp12/public_html/wp-includes/functions.php on line 5453
I am slowly but surely learning GIMP 2.6 and have looked at multiple “training” sites, videos, etc. This is probably the most clear and understanding training of all! Thanks so much!